Sunday, December 23, 2018

Ruinous Crypt

With the previous encounters of Cultists in the Crypt, the Solo Bunch decided to explore another Crypt. This time, it’s the Ruinous Crypt at the end of Stone Road, and the foot of Copperneck Mountain.

In the City, a robed Savvas merchant gave the party a rectangular black-and-white coin in exchange for some treasures that you have. The strange coin seems interesting but research at the Gloomhaven University failed to shed any light on the coin. That is, until an Aesther saw it and said that it’s the Temple of the Eclipse. Hmm... another location for the adventurers to seek out in the future. 

For now, the gang went on the road, only to reach a narrow valley with stones blocking the way. This sounds familiar and is not good news. The attempt to clear the path is hard work and pain, with the discard of 2 cards each. This will have an impact on the scenario.


Going into the Ruinous Crypt, the party was greeted by a bunch of Cultists and the Night Demon they summoned. The scene was so frightening that the party had to suffer another penalty of being Disarmed at the start of the scenario.


The enemies moved quickly and surrounded Brutus. It wasn’t easy to break out of the fight, but with help from Weaver casting spells outside the ring of enemies.


That didn’t stop one of the Cultists from summoning a Living Bones. Thankfully, Brutus’ Warding Strength was able to deal with it. It was a Critical Miss in the attack, but the Push effect killed the monster after it landed on a trap. It also cleared the way to the next room.
 

The next room is guarded by Flame Demons. Fighting them was not too tough. They had shields which gave them some protection, but some lucky card draws helped. Tinder also used the opportunity to jump forward to loot a treasure.


While looting the treasure gave Tinder extra gold, it meant that he was left far behind. Weaver and Brutus moved forward quickly into the remaining locked room and was greeted by Frost Demons. The only problem was that Tinder had a lot of catching up to do.


After Weaver opened the door, Brutus charged in with a combination of the 6 moves from Skewer, +2 Move from the Boots of Striding, and attacked with Balanced Measure. This killed the first Frost Demon.

By carefully making sure that Weaver doesn’t charge into the room and some careful use of cards, The Frost Demons were killed. THe final demon was dispatched with a Jump and Attack, and also allowed Brutus to grab the second treasure in this scenario.


The last few rounds was nail-biting. Tinder stayed outside the room and Healed Weaver because he didn’t want to activate the trap. He has the Diehard battle goal which means he has to try to not allow his HP to drop below half of his max HP value. Not stepping on the trap is therefore the preferred way to go. Weaver was almost defeated by the two Living Bones, with her HP dropping dangerously low. After being Healed by Tinder, she moved into the room for a final charge. Luckily, she also drew a Critical Hit card which meant the end of the last enemy.

Going into this scenario with  two disadvantage effects made this a very close game. Again, the party was near failure. But with some luck, they succeeded. The rift opened by the Cultists seemed dormant now and the party has two choices... to go into the Plane of Elemental Power opened by the rift, or going back to Hail the Aesther enchanter to find out more about it before proceeding any further.

Also, Weaver is one more step closer to her personal goal.

Altogether, 4 more locations were unlocked in this round of adventure... more places to explore then...

Friday, December 21, 2018

Treasure hunting at the Sunken Vessel

After the epic-ness of the last Crypt adventure, the Solo Bunch returned to Gloomhaven for a well-deserved rest.

At the Sleeping Lion, a rustic man in leather armour disturbed the party’s rest by asking for help to look out for his brother who is missing after going out hunting in Corpsewood. The party agreed and promised to keep an eye for the man’s brother the next time they venture out.


Instead of heading out on the road, the Treasure Map gained from a previous encounter seems tempting to the group. Who can resist the chance to pick up a bunch of loot? With the faded map, the party headed out from Gloomhaven to sea, eventually reaching an island.

As the party made their way up the shore on the beach, they saw the Sunken Vessel. But progress from the waters to the shore proved troublesome with everyone in the party suffering from Immobilize effect due to the sandy beach.


The enemies that greeted the party were a bunch of crab-like Lurkers, the same creature which they encountered back in Gloomhaven a while back.
 
As they fought their way up the beach, the Mystic Ally was summoned to help Weaver, and a Dangerous Contraption was summoned by Tinder. They proved really useful in the opening scenarios, but later on didn’t help much, as they moved slowly and couldn’t catch up with the rest of the group.

Lesson learnt: Don’t summon the creatures so early on such that they will be left behind. 

As the party moved inland, the Dangerous Contraption’s attack came in handy to kill off another Lurker that appeared.

Reaching the Sunken Vessel, Weaver was the first to burst into the wreckage. A whole bunch of Living Spirits are there waiting!

The problem is that both Brutus and Tinder are still far behind, and Weaver had to deal with the onslaught of the Living Spirits which ganged up on her. Using the Invisibility Cloak helped for a short while, but she still suffered major lost in HP.

When Brutus caught up, Weaver jumped over some barrels and casted her Fire Orbs and cleared the room. With this attack, she had to bow out of the quest due to exhaustion, leaving the other two to carry on with the adventure.

Tinder moved forward to open the doors to the inner section of the wreck. Using a Weighted Net, he Immobilized more Living Spirits, mitigating the damage they may cause.

Seizing on the opportunity, Brutus rushed into the room with an Unstoppable Charge wearing the Boots of Striding. He was able to Stun the enemies and also killing the Elite Spirit.


After looting the Treasure Chest and also picking up the various gold around, Brutus did a Trample and finished off the final enemy.

Overall, this scenario was not too difficult, but again it was close. Losing Weaver was a blow, but some powerful moves helped at the end.

The result of this adventure is quite a bit of sweet treasure and for Brutus, picking up the Doomed Compass from the Treasure Chest is an added bonus. He also had enough XP to level up to Level 5. 
 

Thursday, December 20, 2018

Return to the crypt... the Decaying Crypt

With the knowledge of where to look for Jekserah, the party was persuaded by Weaver to re-enter the Crypt, in order for her to pursue her personal quest as a Seeker of Xorn. Of course, the party was not aware of her personal goal, but agreed as getting loot from exploring is always welcomed.

Before heading out, folks in the city asked for your help with some crab-like Lurkers that appeared at the docks. Instead of attacking them, the party decided to communicate with them. The attempt was not successful but at least they scuttled back into the ocean. At least the crowd was impressed with the party.

On the road to the crypt, a hard-looking mercenary sitting on a dirt path ask the party if they had a stamina potion for sale. It was tempting to help, but the party decided to move away, sensing something amiss with the man. The stamina potion will also come in handy in the adventure ahead so it’s not up for sale. 


The adventure in the Decaying Crypt is one of the most exhilarating game of Gloomhaven so far. The party almost lost, but some epic moves towards the end meant it was a victory. A hard-earned one.

The original plan was to enter the left room after the party descended into the crypt. However, the advancing Living Corpses meant that the plan had to be abandoned. Brutus had to flank the Corpses and after dealing with them, the party decided it that going right was less time-consuming.

In the next room was another bunch of Living Corpses and some Living Spirits. Things started smoothly with Brutus pushing the Elite Corpse into the Poison Trap. But the Living Spirits soon closed in on Brutus, causing hit after hit of damage. Brutus had to lose some Ability cards just to survive. But this method of survival had implications later on in the scenario.


The party got out of the mess in this room when Weaver used Fire Orbs on the Living Spirits. This AOE attack took out all the Living Spirits in the room! It’s good to have a spellcaster on your side!

After clearing the room, the party pushed forward. Things were quite dire for the party. Brutus had only a few turns left before getting exhausted. This was due to the loss of the Ability Cards earlier on. Tinder was still a bit behind, and the Mystic Ally was of not much help, being able to move only 2 spaces at a time.

Weaver moved forward to open the door of the objective. And what happened after was epic indeed.


As soon as the door opened, the Living Corpses and Living Spirits moved forward to attack. Weaver took some damage but was able to survive the initial onslaught. She then casted Fire Orbs on the enemy and took out two Spirits.


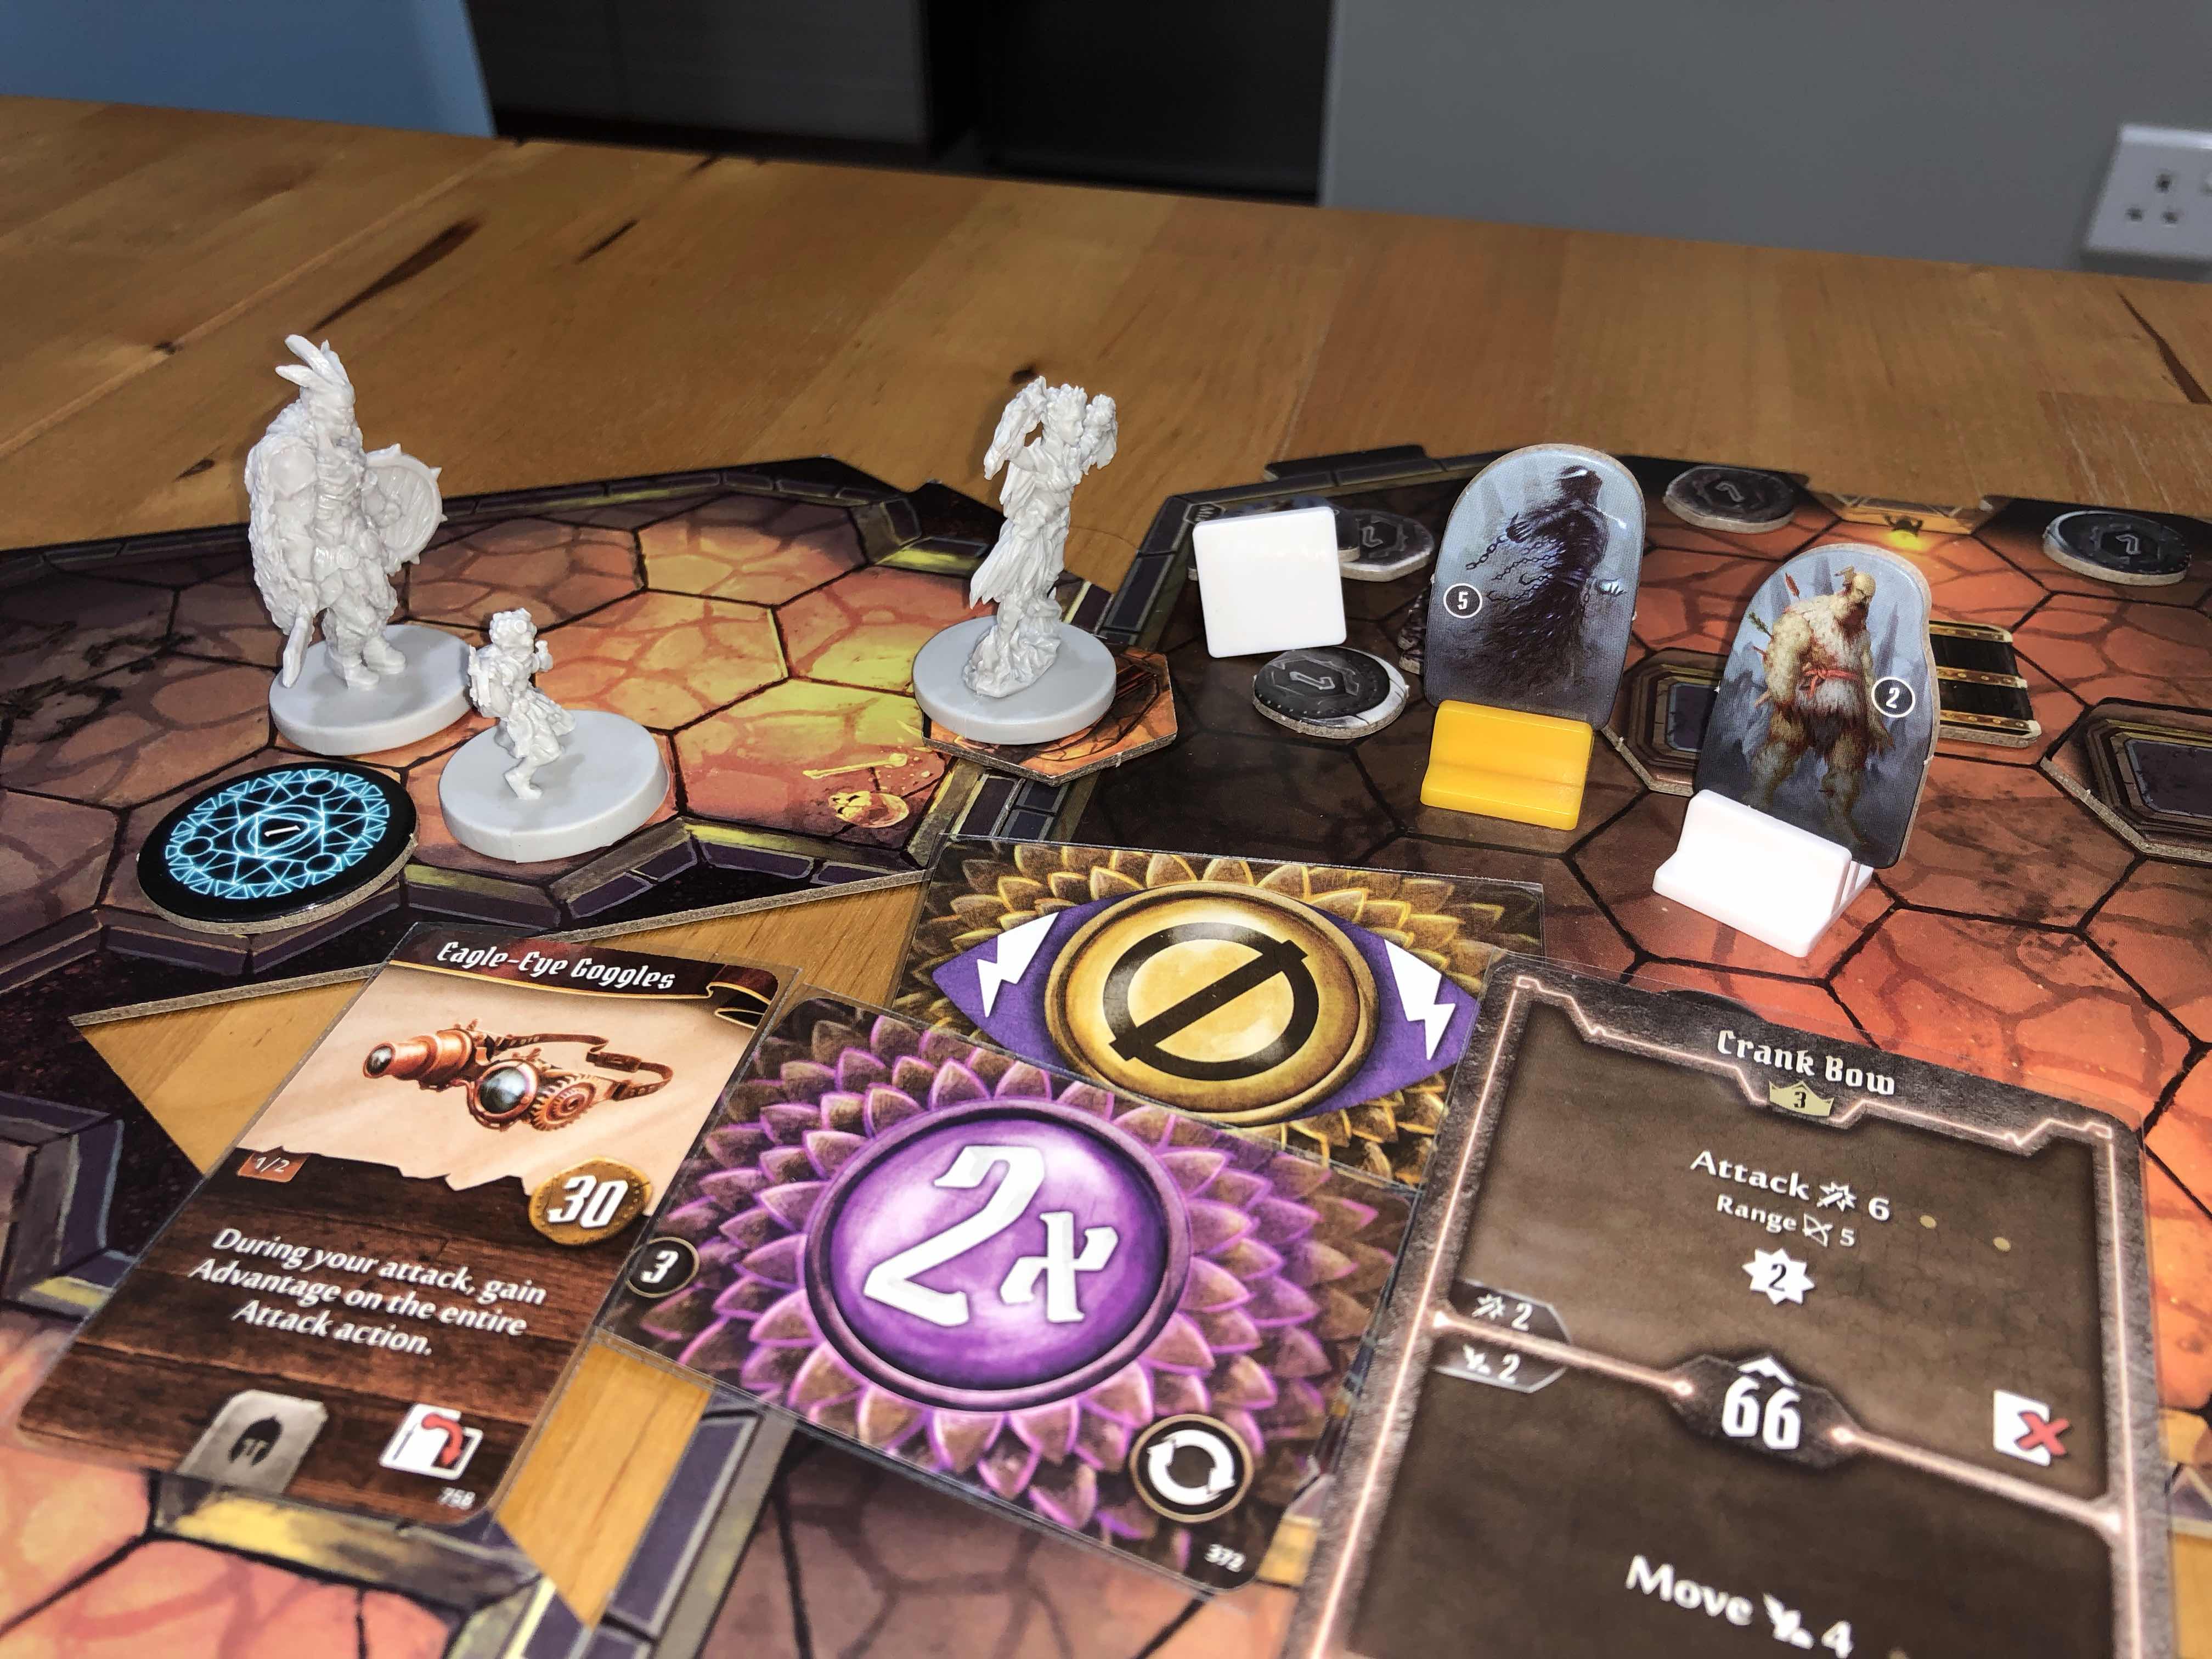
It’s then time for Tinder to move forward with his Crank Bow, aided by his Eagle-Eye Goggles. Although he can’t move far, the Crank Bow’s long reach and high damage meant the end to the first Corpse. And thanks to the the Goggles, the Cursed miss card was negated, and the second card turned out to be a Critical Hit!


That’s not all. With the first Corpse out of the way, Brutus did an Unstoppable Charge into the room, Stunning the Elite Spirit. This was followed by him throwing his Spare Dagger at the Corpse. Amazingly, he was able to Stun the Corpse too!

With this, Brutus had to leave the scenario exhausted, leaving Weaver and Tinder to complete the mission.


With both the enemies Stunned, Tinder advanced and used his Net Shooter. While he couldn’t yet kill the enemies, he could at least Immobilize them.


The coup de grace came when Weaver used the Fire element generated from the Fire Orbs to cast Cold Fire. This attack finished the enemies off! What a close victory. Also this meant that the Fire Orb+Cold Fire combo will be a mainstay in Weaver’s arsenal from now on.

This scenario was such a thrilling one. Most of the scenarios in Gloomhaven had been close but none as close as this. Halfway through the scenario, I was about to give up, thinking that I will fail, given that Brutus had lost a number of Cards just to stay in the fight. Thankfully, the final few moves proved otherwise, thank to some brilliant combo play and luck.

This scenario was also one of the most profitable one. Brutus achieved his battle goal and is a step closer to becoming a Battle Legend. Weaver was a step closer to her personal quest. Even Tinder gained enough XP to level up to, gained some gold, and looted the treasure and gained the Second Skin (and also adding to his equipment and a step closer to his goal as well).

All in all, a glorious, but hard fought win!

Interestingly, the party also discovered that Jekserah was not only giving the people in Gloomhaven trouble, she was also creating some havoc in the Crypts... the Jekserah mystery deepens...

Wednesday, December 19, 2018

Biteroot picking at the Vibrant Grotto

Enough of distracting side quests. The Solo Bunch is back on the search of Jekserah the merchant-turned-necromancer. At the Crooked Bone, Hail wanted the party to gather some biteroot plant for her. Plant gathering... it shouldn’t be too difficult...

Before heading to the network of caves that is the Vibrant Grotto, the party was approached by someone called Lord Greymane who wanted some help to guard the transportation of goods from his warehouse. At the warehouse, the group was set upon by thieves. Of course, they are quickly dispatched and the party is rewarded with XP and gold.

The journey to the Vibrant Grotto found the party blocked by a massive block of felled trees. It’s odd that the trees are placed at the location but rather than finding another way, the party decided to clear the road. Thankfully, Weaver’s elemental powers came in handy to sweep the dense trees aside.

At the entrance of the Vibrant Grotto, the party realized that this is no picnic. Cave Bears, Forest Imps and Earth Demons are everywhere. Furthermore, they need to pick up 5 biteroot at different locations. They also needed loot abilities to be able to retrieve the delicate plants. This means that the party had to equip themselves with the Loot ability, foregoing some nice ability cards they acquired when leveling up.

The original plan was to split the party into 2 groups to collect the biteroot. The aggressive Cave Bears prevented this, forcing the party to stick together. They even had to run away from one of the Bears, and entering the second area with the Earth Demon.


This area was cramped. But Tinder was able to use his Hook Gun to pull the Earth Demon into a bunch of thorns, killing it in the process.
With 2 biteroots (and 3 more to go), the party went back to its original plan. Weaver continued ahead alone, but will summon her Mystic Ally to aid her. Tinder and Brutus went back to deal with the Cave Bear and then proceeded into another area.


The area to the right of the starting location was filled with more Imps. Brutus pulled of a nice move when entering the cave, and killed the Elite Forest Imp from range with his Spare Dagger and a critical hit.


Back in the other area, Weaver and the Summoned Mystic Ally had an Inox Shaman and more Imps to deal with. an Impaling Eruption dealt enough damage to weaken the Shaman and also finished off the Imps in this area.


The enemies were about to get even tougher. Weaver went into her side of the cave and was confronted by more Cave Bears. Since the objective is behind the Bears, she used Ride the Wind to leap behind the, and got the biteroot. Then she ran out of the area, with the Bears hot on her tail. Mystic Ally helped to block off the pursuit, but was killed in the process.

With one final biteroot left, things got really tense. Faced with a wall of Earth Demons, Tinder wanted to use his newly acquired Crank Bow to help take one of them out. But the Imp’s Curse from the previous room caused him to miss his shot entirely!

Meanwhile, Weaver was all ready to use her Impaling Eruption again on the Bears, but they closed in and Immobilized her. She had no choice but to attempt her attack with Disadvantage, leading to a miss on the first Bear and only minor damage to the other.

With the goal so close at hand, things are not looking too good for our heroes! 


While the Earth Demons closed in on Brutus, Tinder threw caution to the wind. He moved forward and and used his Ink Bomb. Thankfully, that broke the wall of the Earth Demons attack. Brutus was then able to jump into the gap, over the Poison and Stun trap and retrieve the last biteroot.

It was a close call, but the party got away and managed to bring the plants back to Hail, who gave them the location to the Necromancer’s Sanctum.

Overall, this was a really exciting scenario. Retrieving all the plants at the different location seemed an almost impossible task. The trick to this is to move quickly, split up and aim for the plants. Not easy, but the party did it!

And one final thing... keep your cards with Loot ability in the deck. It can be impossible to win if you don’t.

Tuesday, December 18, 2018

Shrine of Strength <spoilers>

With the choice of Power or Wealth given to the Solo Bunch after the meeting with the Seer in the last scenario, the party decided to go for might.

Before heading out, the party found a curious sea chart in a Valrath merchant’s stall. Not wanting to pass up a chance to explore new locations, the party, paid up 20 gold to unlock the directions to a Sunken Vessal. The chart is of course saved for another day.

On the road to the Shrine of Strength, the party found a man whose wagon has a broken axle. With Tinder’s tinkering ability, helping the man gained the entire party Bless modifiers for the coming scenario and also increased their reputation. 

It’s pretty rare for both city and road encounters to be so benign, so no one’s complaining.


The Shrine of Strength is an interesting scenario that is also a puzzle. The party has to work together to step on pressure plates to unlock doors, before they can get to the treasure tile to complete the scenario.


The first room is simple, and the Stone Golem and the Savvas Icestorm were killed without too much trouble. Savvas Icestorm is a new enemy and has an interesting array of attacks. Have to watch out for this enemy in the future.


When Weaver opened the next room to face a bunch of Wind and Frost Demons, it was also not too difficult an encounter due to lucky attack modifiers draw.
Tinder’s Ink Bomb quickly took out the Frost Demons, which cleared the way for the rest of the heroes to enter into the fray.

When Tinder activated the pressure plate and opened up the two adjoining rooms, things became rather more tricky. The party needed to split up to stand on three pressure plates at the same time to open up the last room.

So the plan is for Tinder and Brutus to head left into the room with 2 Harrower Infesters and a Stone Golem, while Weaver and her summoned Mystic Ally will head right.

The Elite Harrower Infester is not an easy opponent. But a combination of successive Disarm and Stun effects kept it at bay.

The party eventually managed to step on the 3 plates to open up the last door. Weaver and Tinder also had to suffer some damage, tripping the traps placed in front of the plates. Not ideal, but they just have to sacrifice some HP to allow for the mission to be completed quickly. 

After the last door opened, it was a mad rush to grab the treasure while having to deal with yet another 2 Elite Stone Golems. This is where Ride the Wind comes in super handy. With the Golems focusing on the Mystic Ally, Weaver dashed and leaped over the Golems, getting herself close to the treasure. After that, it was just a matter of surviving an attack by discarding a card, and use the remaining one round to reach the objective.

So, the reward for this scenario is a generous increase in XP, allowing Brutus to level up. 
More interestingly, there was a cryptic message. Decoding it reveals a puzzle:

“Search for the rise of the decoder ring. Look to the end of word 11 on line 3.”

Interesting... 

Monday, December 10, 2018

Temple of the Seer

After the Crypt, the party decided to refocus on the main quest of locating Jekserah. But first, some encounters before heading out to the Watcher Mountains to look for the Seer in the temple.

In Gloomhaven, the party was offered some delicacies by a Quatryl. Trying the food was a good choice, with the party gaining Bless for the upcoming adventure.

Along the way on the road to the temple, the party helped a bleeding man in armor, consuming Weaver’s supply of potion.


At the temple, the party was greeted by a bunch of Stone Golems. Taking out these giants took some time, but it was not too difficult other than having to lose some cards as it took more attacks than necessary to take them out (due to unlucky Attack Modifiers).


The second room with the Altar is more interesting, and definitely more challenging. A whole bunch of enemies were waiting when the party entered. The Bears caused huge amount of damage as well as inflicting Wound. The Living Spirits had high Shield, negating most damages done to them. And the Spitting Drakes, giving Muddle effects to anyone in range.

Facing the huge number of enemies, Weaver put on her Cloak of Invisibility, causing a choke point at the entrance to the room an allowing the rest of the party to get into better tactical position.


The battle here was tough, and Brutus had to lose some cards to negate damages. Again, Weaver came up with an epic move Riding the Wind to the back of the room to pick up a treasure chest. At the end turn, she maneuvered into position behind the enemies to cast Fire Orbs. It helped that the Bless card made an appearance, killing two Spirits and a Drake. So the donation to the Sanctuary of the Great Oak came in handy at the right time!


Eventually, only the Elite Drake was left. Brutus was hit by the Drake’s Muddle and Stun effect, so he could not land the killing blow. Luckily, the Mystic Ally came to the rescue and its attack defeated the Drake.

This scenario had a number of Muddle Traps which would be useful for Brutus to push the enemies into. But with the relentless attacks, he could not get into position to do that. And again, although having the least HP, Weaver proved to be the most effective and powerful member in the group with her AOE attacks and the Summon ability.

The scenario ended with both Weaver and Tinder gaining a level. But the loot this time round was rather meager. Well, you can’t have everything.

Wednesday, December 05, 2018

Epic success at Crypt of the Damned

After the failure in the last mission to the Crypt of the Damned, the party went back to Gloomhaven to rethink how to approach this scenario. The previous method of clearing out the rooms one by one clearing didn’t work. 

With that in mind, the Solo Bunch decides to attempt the scenario again. Also, Brutus leveled up to Level 3 so hopefully his new Brute Force ability will give the party some additional help. 

Before that, the party spent some gold to help a frail white-haired woman to clear some rat infestation. No rewards for this task though... a let down.

On the way to the Crypt, the party also met a bunch of thieves. In order not to start the scenario wounded, they decided to hand over some gold.

Not a good start, having lost a number of gold before even the scenario started.


This time in the first room, instead of attacking the enemies from their starting positions, the party hugged the left wall, with Brutus flanking and attacking them from behind. The +3 Attack Modifier gained from leveling up made an appearance and helped to despatch the Archers quickly.


The second room proved to be a tougher challenge. The damn Cultists summoned so many Living Bones that the room became crowded. It didn’t help that the three Archers laid down a row of traps which hindered the party’s attack.

With the traps, Brutus had to jump over them, and right into the midst of the enemies on his own. Meanwhile, not being able to move forward, Weaver and Tinder used range attacks to target the enemies. The range attacks helped to kill the Archers but the Living Bones remained, and Brutus on his own suffered heavy damage and had to use his Healing Potion, which he thought he could save for later on when the Demons appear.


This is when the strategy changed. Instead of waiting for the second room to be cleared, Tinder opened the room with the Earth Demons. After that, both Weaver and him jumped over the traps, leading the Earth Demons into the row of traps.

This gambit worked! Both Weaver and Tinder are now able to help Brutus to attack the Living Bones, while the Earth Demons followed them and one of them tripped the traps, losing some HP in the process.


With the Living Bones in the second room cleared, Brutus made a long distance move into the last room to engage the Cultists and Wind Demons. Weaver moved in to help with her Impaling Eruption attack.

Back in the previous room, the summoned Mystic Ally and Tinder stayed back to deal with the Earth Demons. Their slow movements allowed our heroes to attack them from range, and to close in when necessary.  

Sure enough, having the party divided into two groups worked. With the Mystic Ally a huge help. In fact, the Mystic Ally was the one who struck the killing blow which ended the last Earth Demon.

Lessons from this scenario:
- Engaging enemies head on is not always a good idea.
- Clearing room by room is also not a good idea.
- Turn perils into something you can use. In this case, the row of traps laid down by the enemy Archers.
- With the summoned Mystic Ally, split the party into two to engage the enemies on two fronts.

Overall, this was an epic battle that almost seemed hopeless when the party reached the second room. But some tactical thinking, and of course some good luck help.

Weaver has to be grateful that completing this scenario helped in her personal quest. The party also needs to decide on whether to continue to the other crypts, or resume their quest of seeking Hail’s help.